How do I create a WordPress website using WordPress Toolkit?
Many of our great web hosting packages include WordPress Toolkit, a comprehensive set of tools for creating and managing websites which use WordPress, one of the world's most popular website development and content management systems.
Part one - logging into your web hosting control panel (cPanel) using your Enbecom Account
Step 1
Log in to your Enbecom Account at https://www.enbecom.net/login
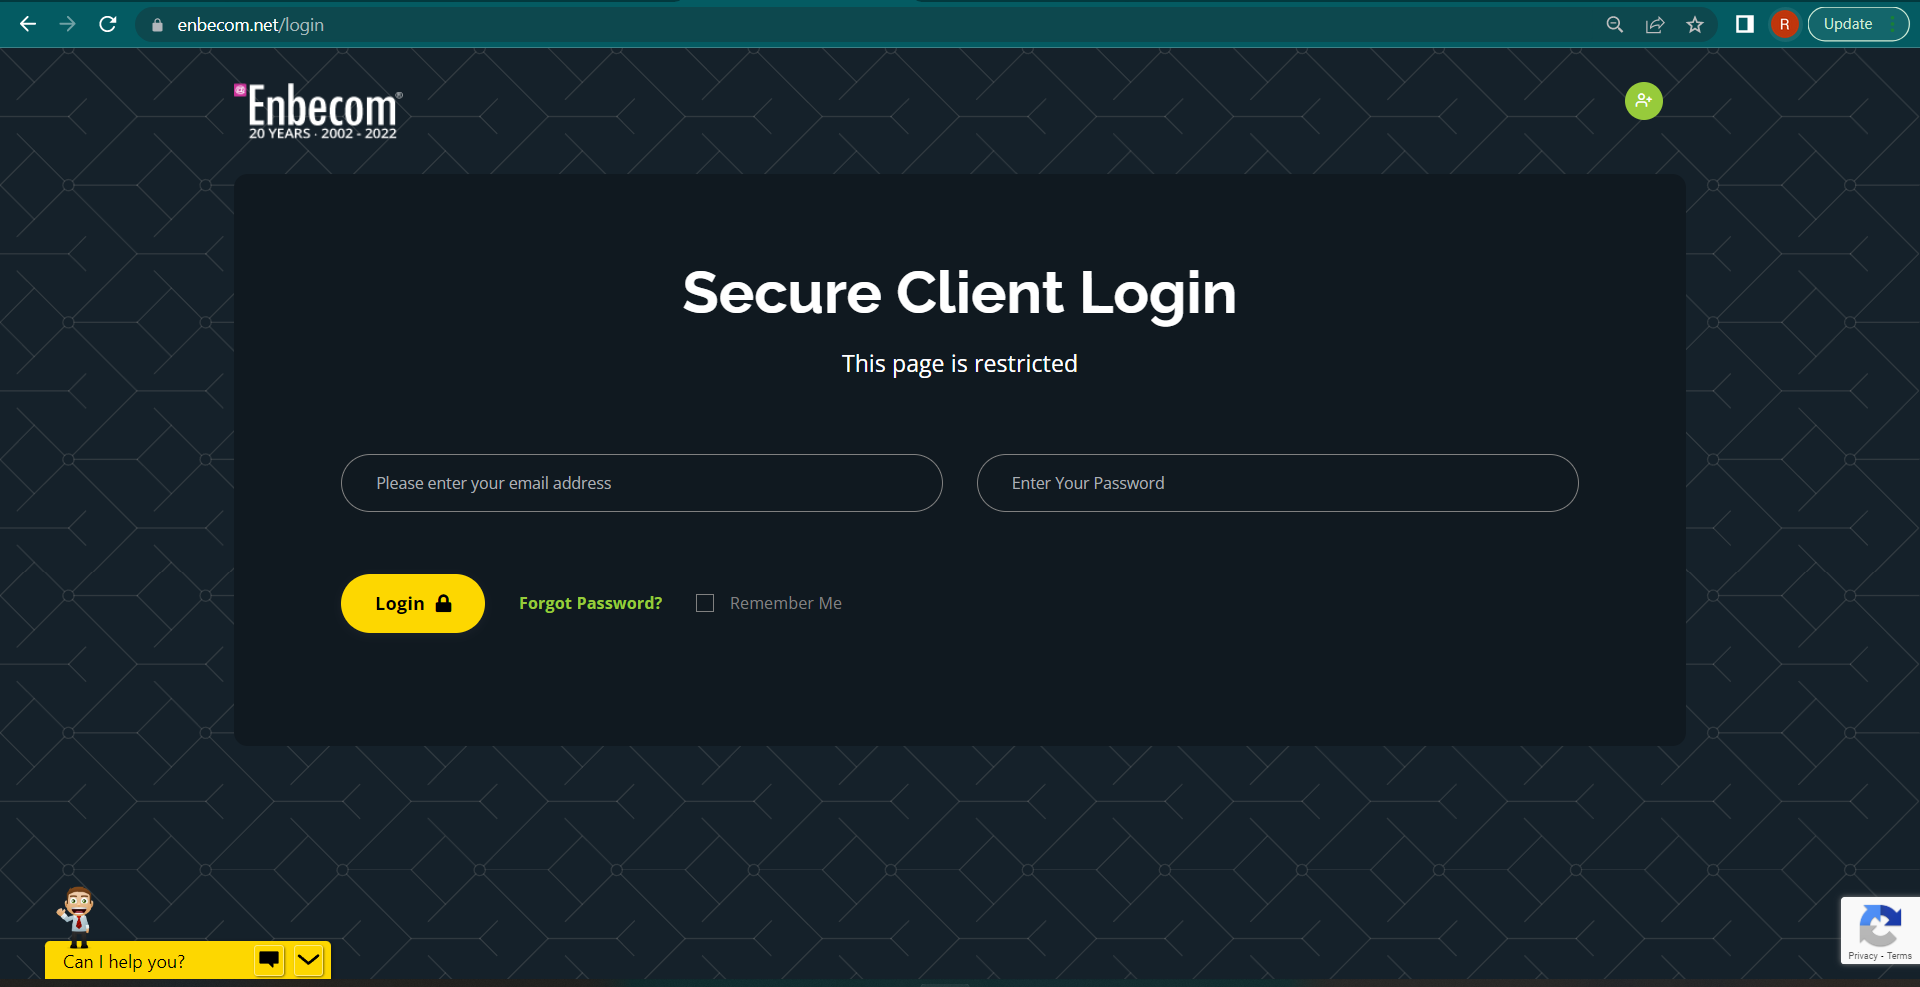
Step 2
Enter the email address and password for your Enbecom Account.
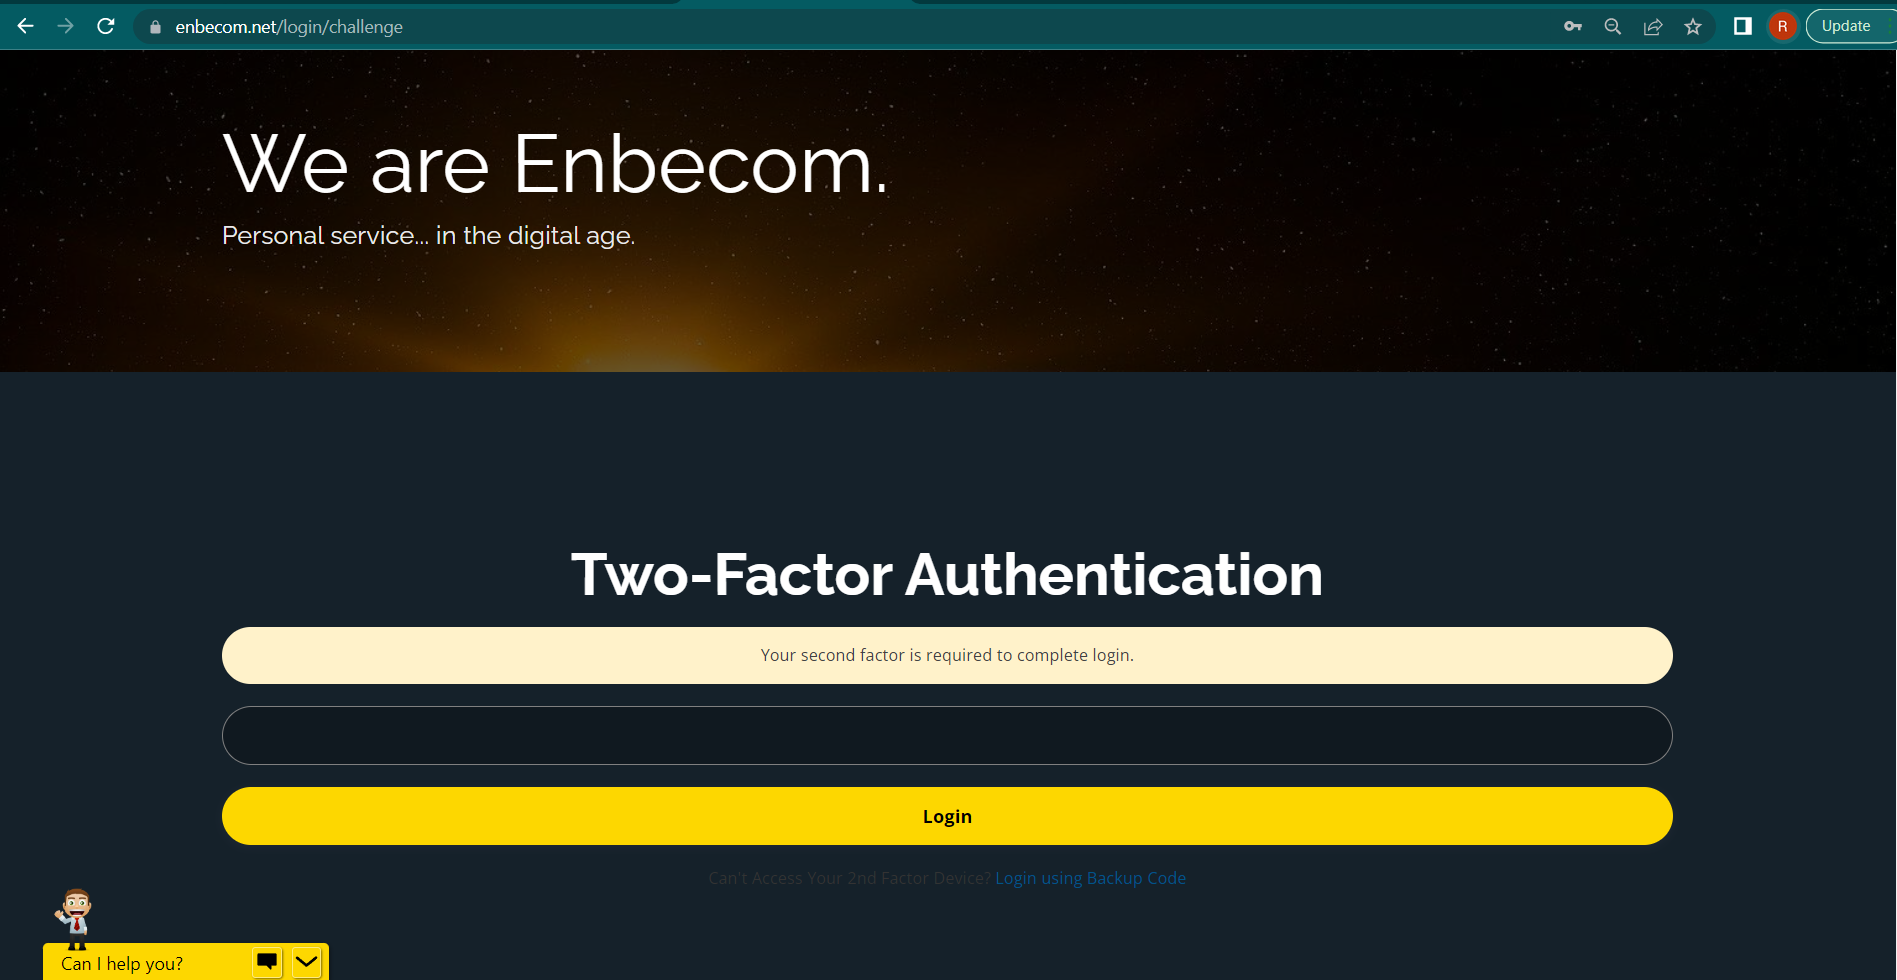
Step 3
If you have 2-factor authentication set up, the system will then ask you for your 2-Factor Authentication Code from your Authenticator App:
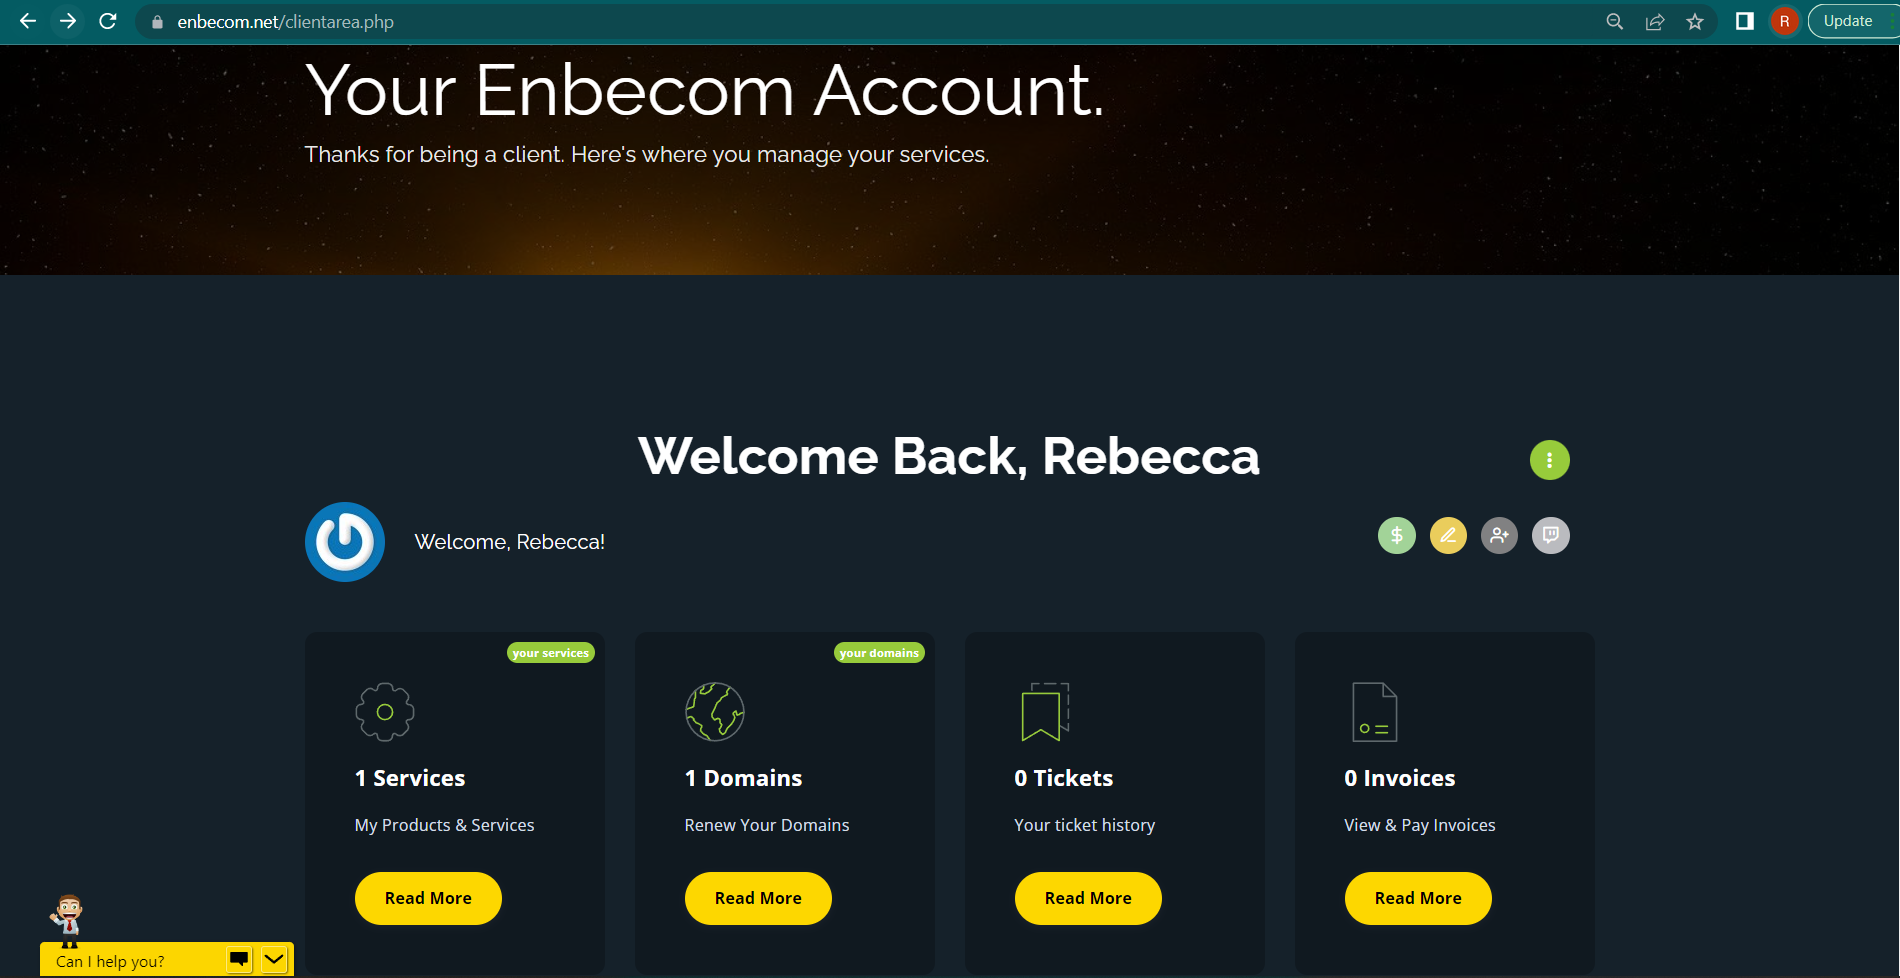
Step 4
On the Your Enbecom Account page, scroll down to the yellow Account Overview section:
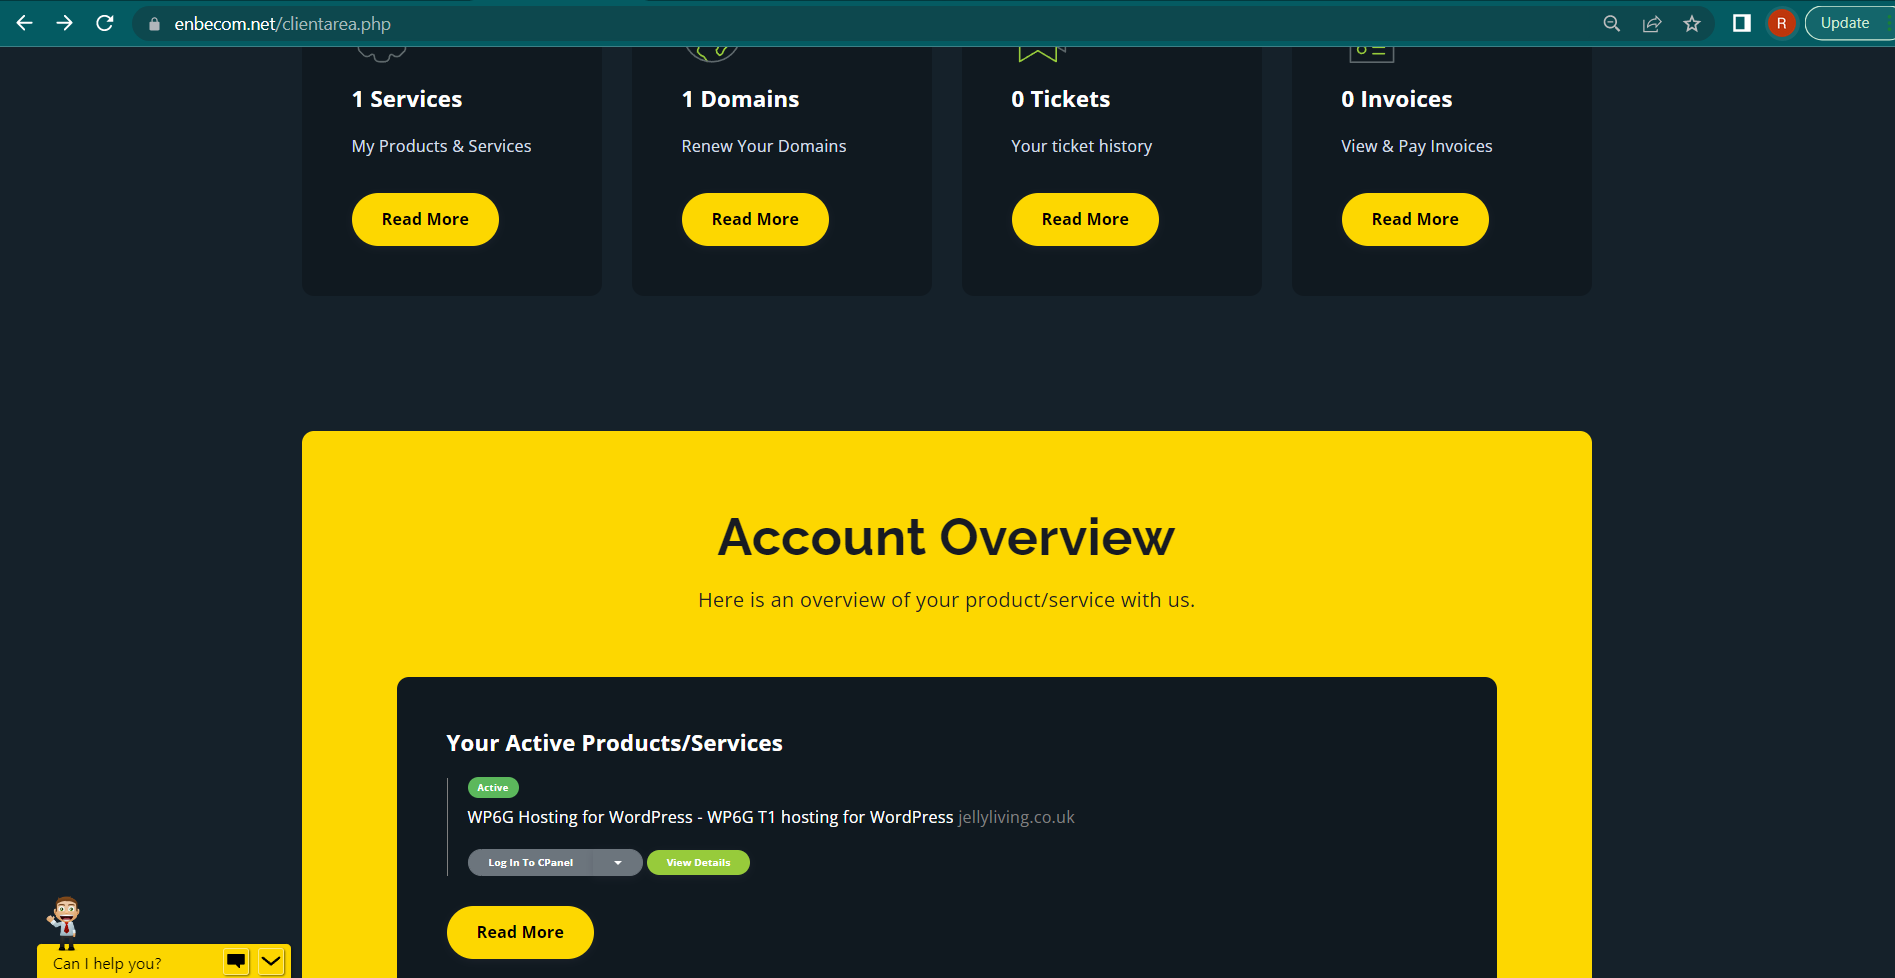
Step 5
In the Account Overview section, select the grey Log In To cPanel button. (Alternatively, the green View Details button takes you to a page showing more details about your hosting plan, including current usage vs allowances, upgrade options and direct shortcuts to individual sections of cPanel.)
Step 6
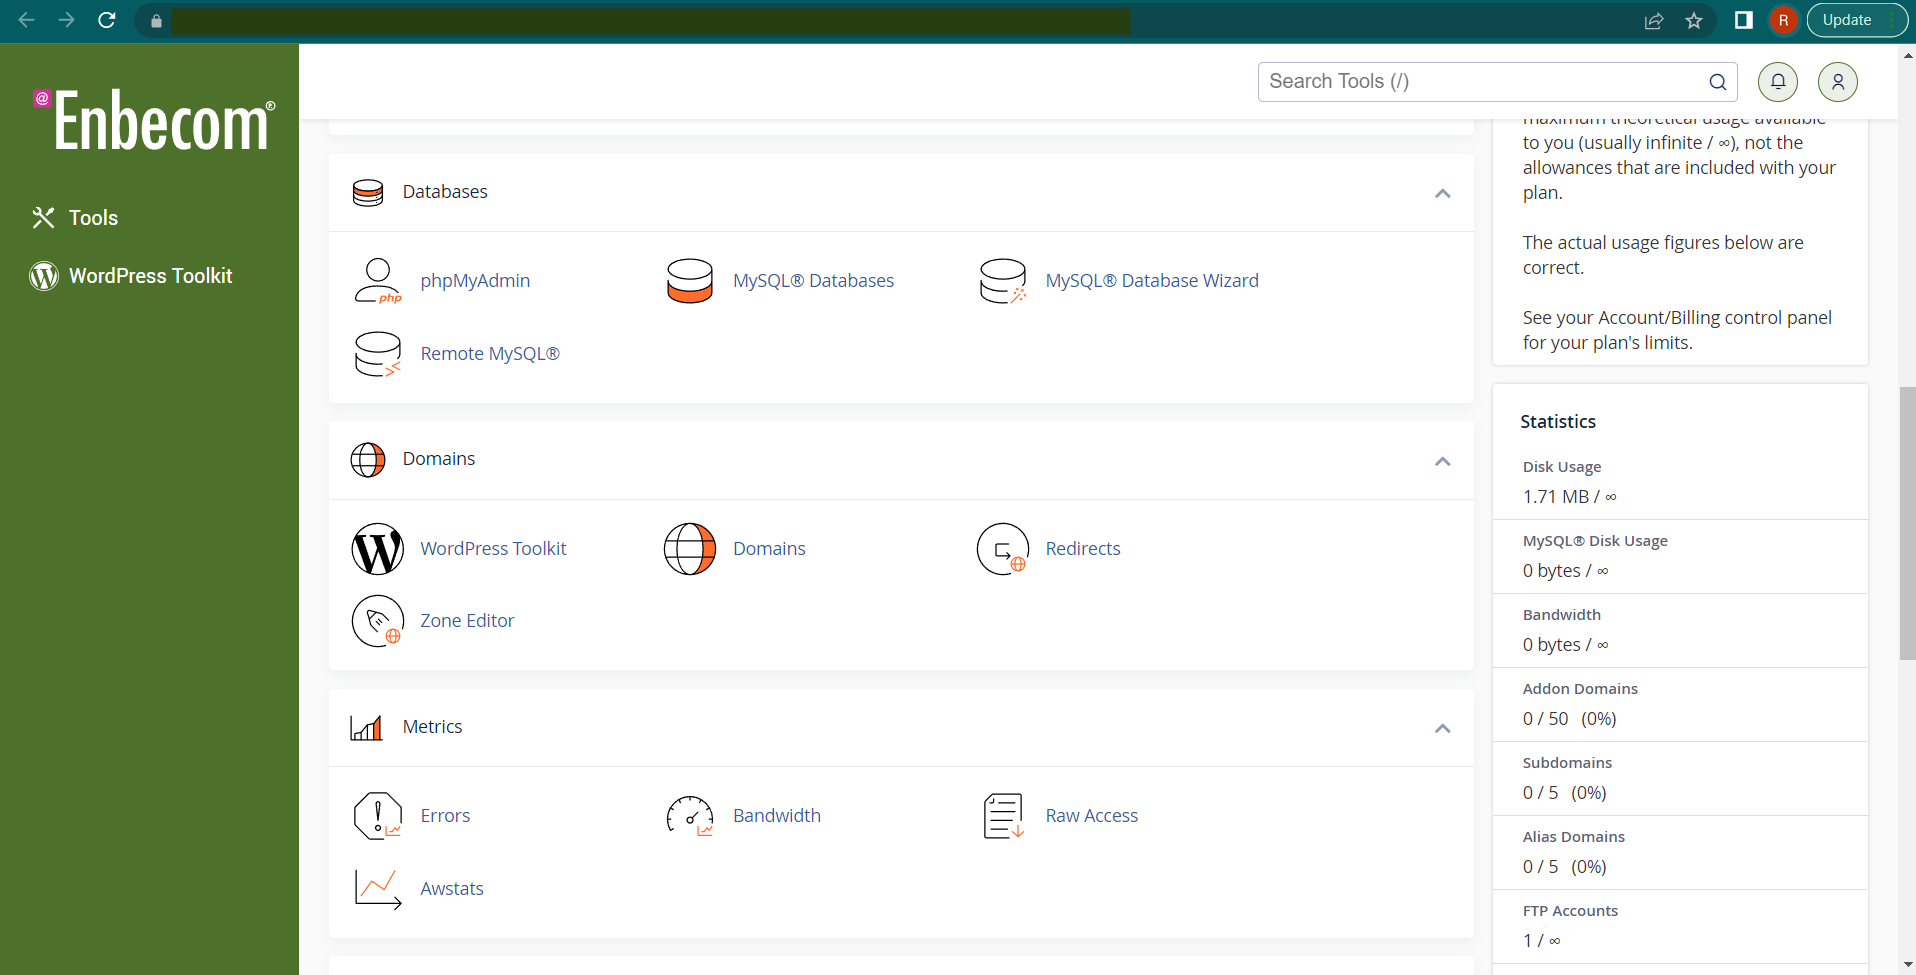
This will take you to the main cPanel page. Icons linking to various features, specific to your hosting account, are shown here.
Part two - creating a WordPress website
Step 7
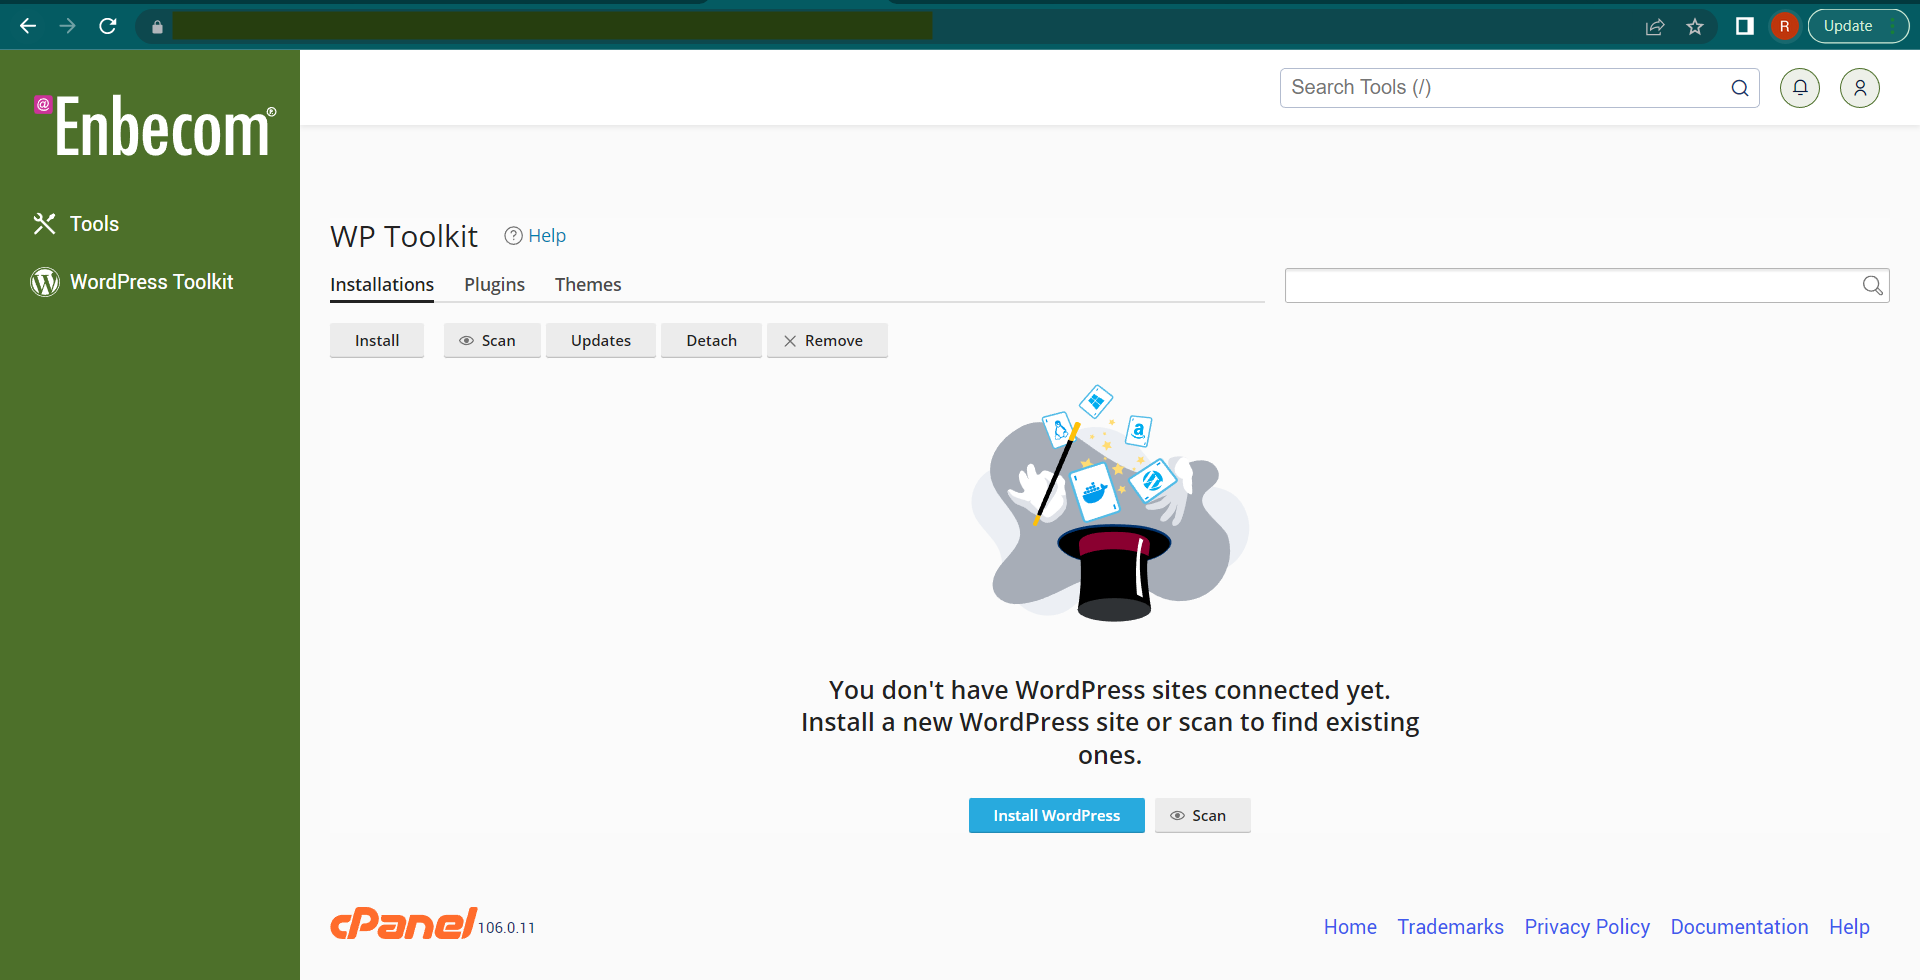
In cPanel, click on the WordPress Toolkit link/icon:

Step 8
Click on “Install WordPress”:
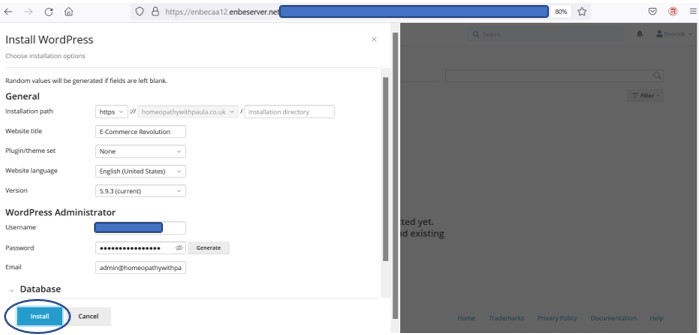
Step 9
Click on “Install” on the next page:
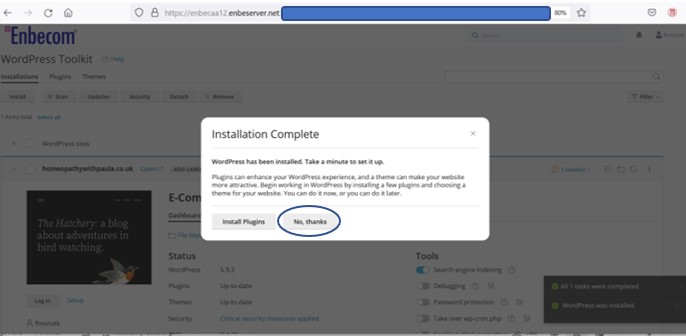
Step 10
You then have the opportunity to select and install a theme (design template) and a range of plugins (software components that add functions and tools to the website). We recommend that you take this step straight away - especially to ensure you have put in place a design and some components to help keep your site secure - but to help keep this tutorial straightforward, we've selected “No thanks”:
Step 11
Then click on “Login”:
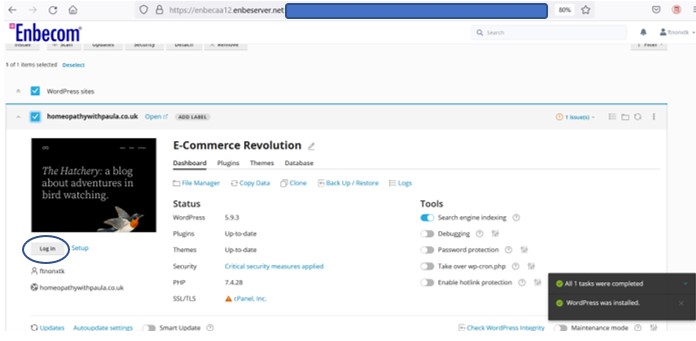
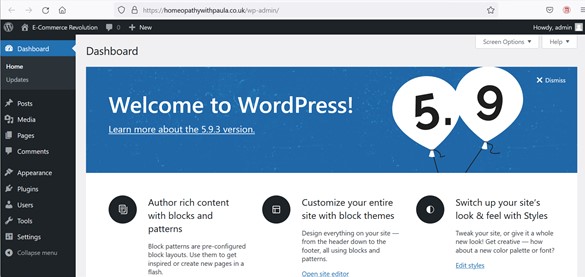
Step 12
This takes you to the admin area of your site, landing on the Dashboard page:
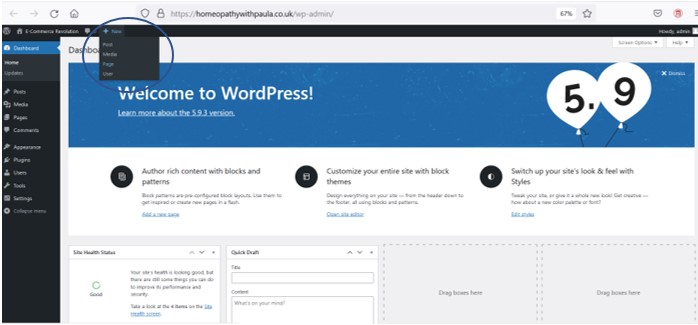
Step 13
Click on “New” on the top left and select “page” from the dropdown list. In WordPress, a "page" is an informational page, such as a homepage, about page or contact page - and a "post" is a blog post. WordPress is great for both.
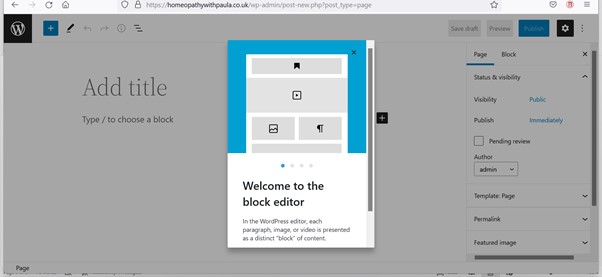
Step 14
The Block Editor box appears:
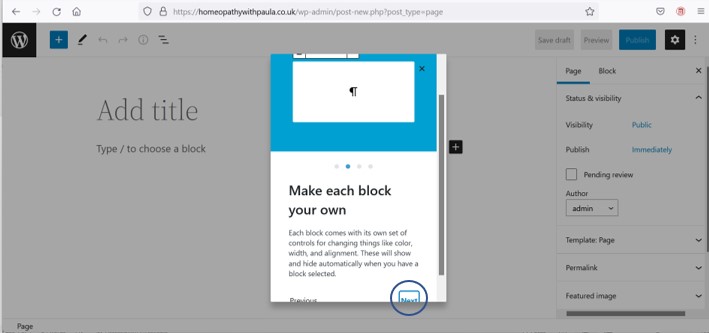
Step 15
Read the on-screen tutorial then click “Next” to scroll through for more information:
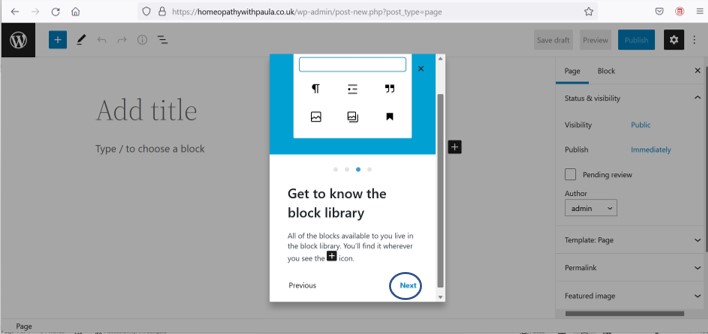
Step 16
Click “Next” again for more information:
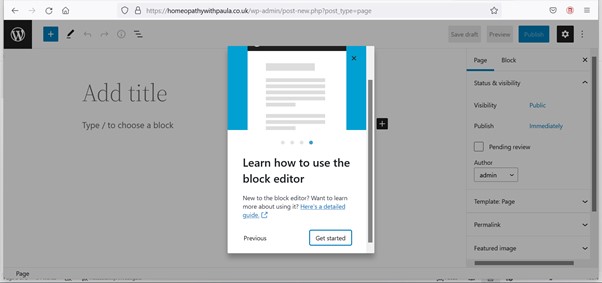
Step 17
There’s a detailed guide on how to use it on the last click through:
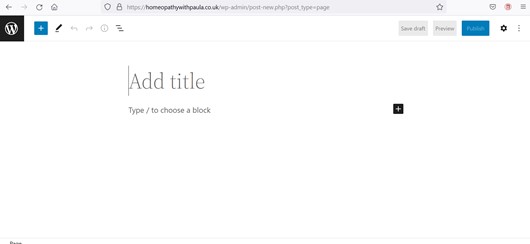
Step 18
Click on “Get Started” (as shown on the previous page) and you will be presented with what looks like a blank Word document… just start typing your content and you can edit it later:
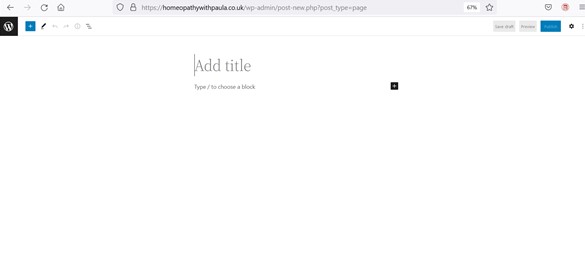
Step 19
Add your title and then click on the plus sign on the right-hand side and select a paragraph, or heading or whatever format you would like to add:
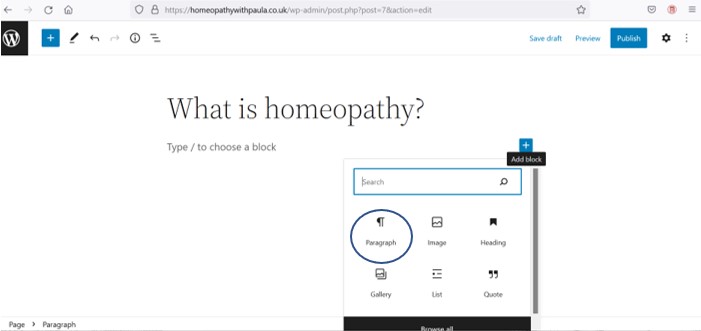
Step 20
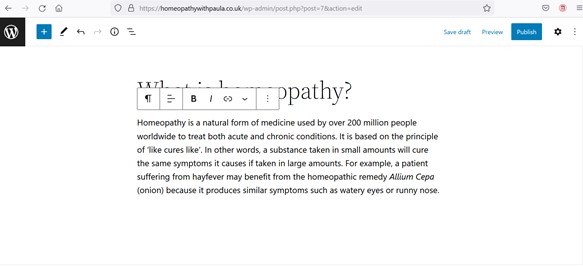
In this example we selected paragraph to insert text under the heading. You can type or copy and paste text to create the paragraph:
Step 21
Hit Enter to get down to the next section and if you want to add a new heading, click on the plus sign again as before:
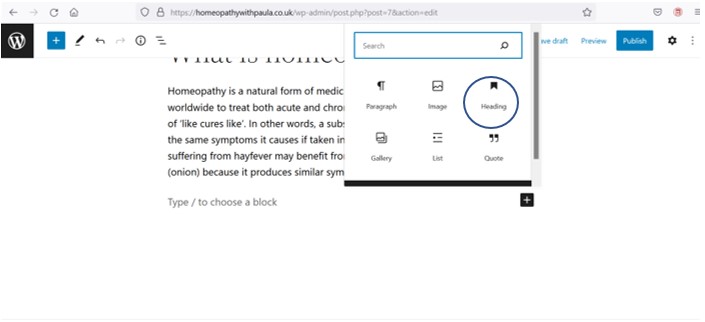
Step 22
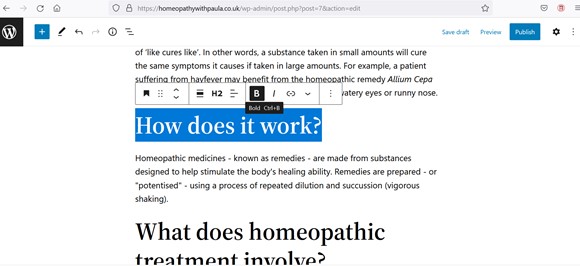
Repeat this process until you have all your headings with paragraphs underneath. You can have multiple paragraphs and multiple headings. There are different levels of heading - 1 is the biggest and 6 is the smallest - and you should ensure you at least break up your paragraphs with Heading 2, which you can see as a H2 icon in these screenshots. Why? It helps with optimising your site for search engines. With most themes (design templates) the title of the page will be set as H1.
Step 23
When you have finished writing the text, you can go back and highlight a line and a box appears with various options to move it up and down, change the block style, change to BOLD or ITALICS etc:
Step 24
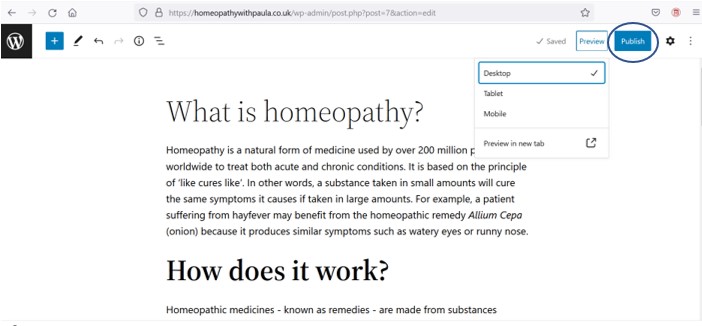
Click on PREVIEW in the top right to see what it looks like so far:
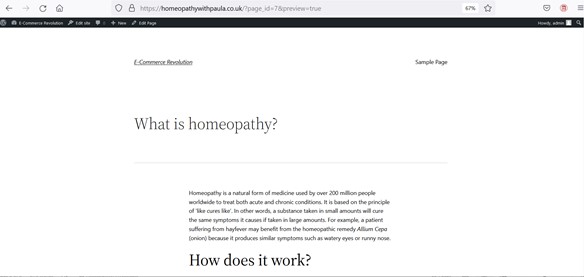
Step 25
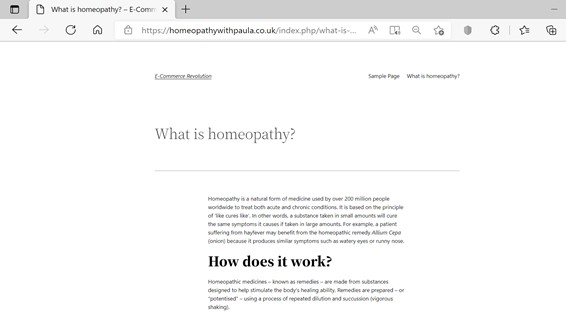
Click on Publish in the top right when you’re ready and your content will go live:
Step 26
You can now type your website address into a browser and view your site live:
Step 27
To continue with more content, you can add a new page by selecting the plus sign on the top left-hand side:
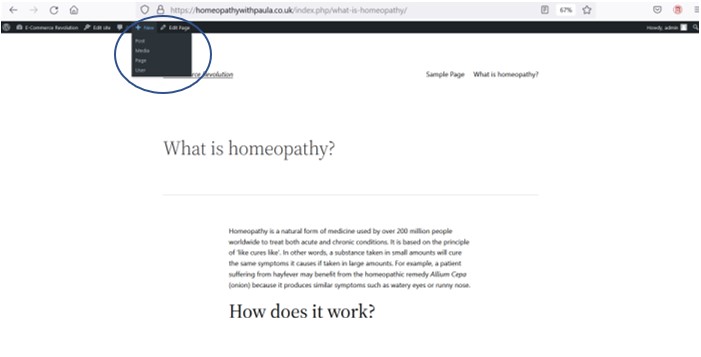
Step 28
Which takes you back to the blank page again:
Recommended reading
The above guide is a straightforward primer to getting a basic site up and running. You might want to take a look at Easy WP Guide or one of the many online guides to WordPress, to help understand how it all works.
Good luck with your new website!
